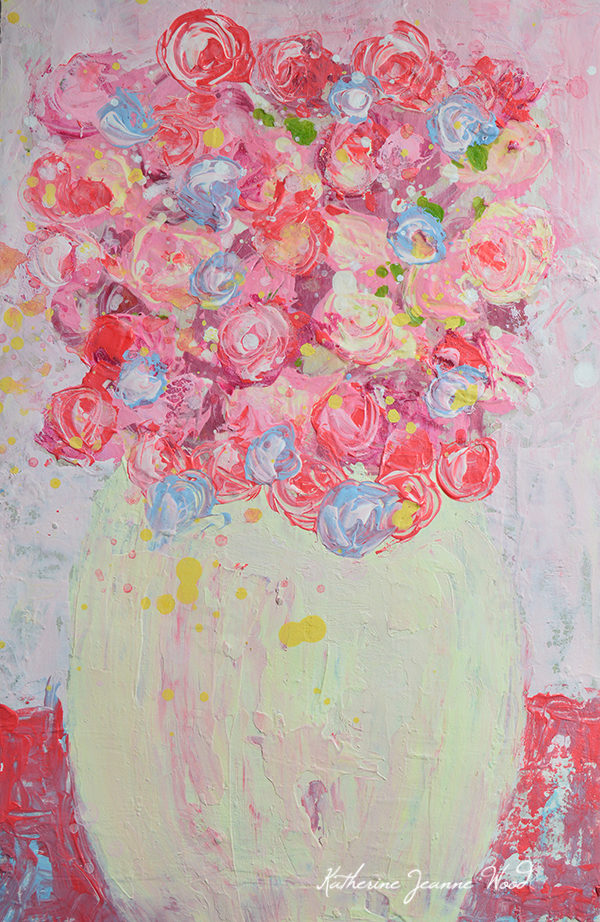
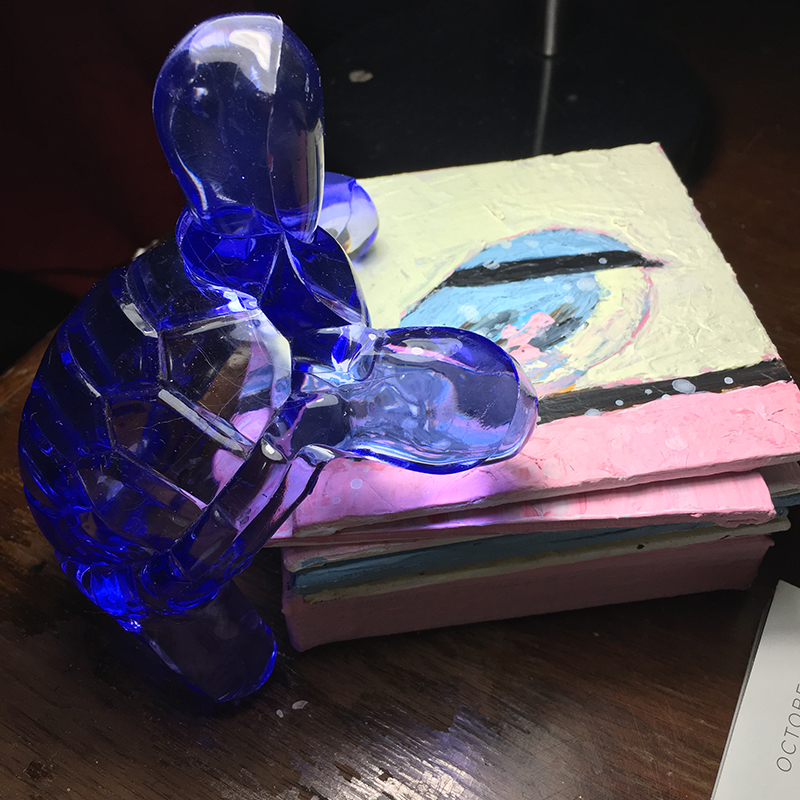
I flipped on my desk lamp the other night, and this is what I saw. Turtle was trying to make a getaway on blue bird’s back. It’s hard to find good help these days. Once they figure out how much work it is to be an artist, they try to escape. sigh. Not everyone is cut out for this type of work, I guess. 😉 Goodbye turtle. You can pick your last paycheck up on Friday. ::sniff, sniff:: With turtle gone, who will I talk to all day?
Game pieces move
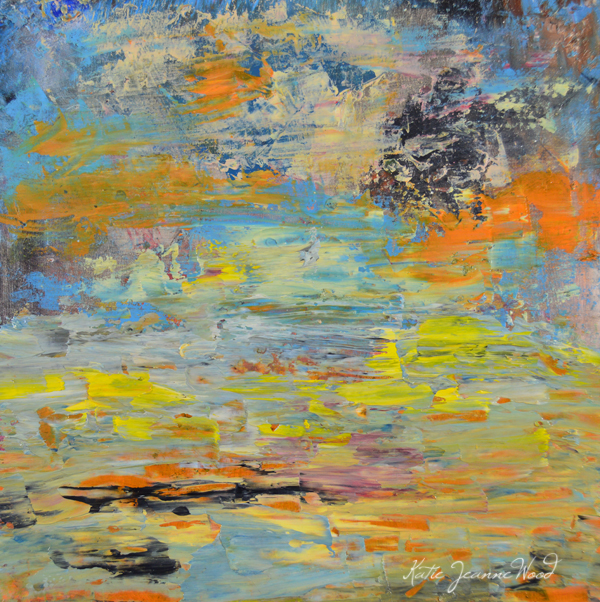
Sky
6×6 oil on panel
Available here
It’s been a long while since I posted any landscape or sky paintings. This is a personal piece created from memory – a sunrise from my window seat on a plane when I was traveling up north. Below the plane, it was storming, and all I could see was black cloud cover. I didn’t want to look down or think too much about the turbulence rattling my seat, so I focused on the sunrise. I had flown all night on a redeye, and ahh..how beautiful this was to witness. I never felt more alive than in that moment.
I painted this painting about six months ago, but have kept it to myself. I don’t do this very often, but I do slide a few favorite paintings off to the side. For however long it takes, until I’m ready to let go, they are mine, all mine. I don’t even share photos here on my blog. I’m selfish that way.
I’m a working artist, which is an old school way of saying painting is my full-time job. I usually approach a blank canvas with a “I’m going to sell this, it isn’t mine to keep” mindset. Sometimes that changes as I paint, and if it does, I don’t fight it. If I want a painting, I keep it. Artists should always keep a little bit of themselves for themselves.
Eventually, the game pieces move, and paintings get shuffled around. The stars in my eyes I once had for certain paintings grows dim. Older favorites get replaced with newer favorites, which is what’s happening here now. I’m still in love with this one, but not so much that I can’t sell it. I have new paintings behind the scenes to take its place that I love just a bit more.
Are you ready to sell your artwork? Not sure? I’ll tell you a simple mind exercise to do to find out. Stay tuned. I’ll be writing more about selling artwork later this week.
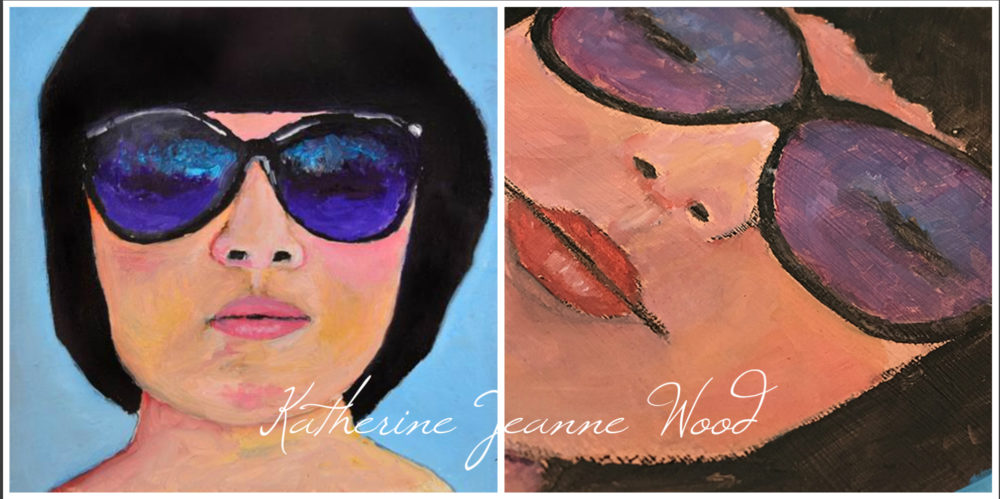
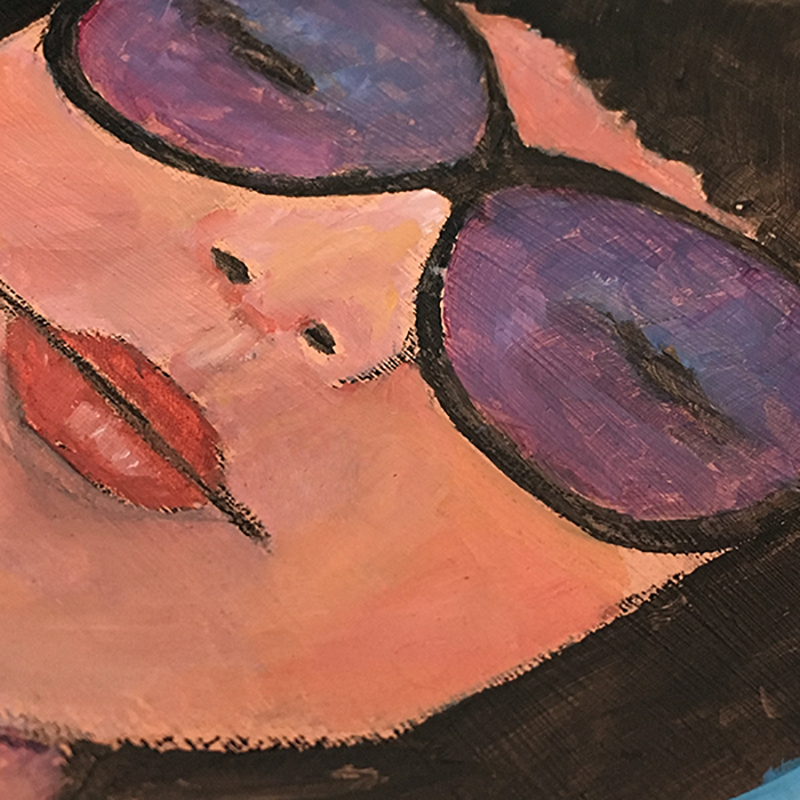
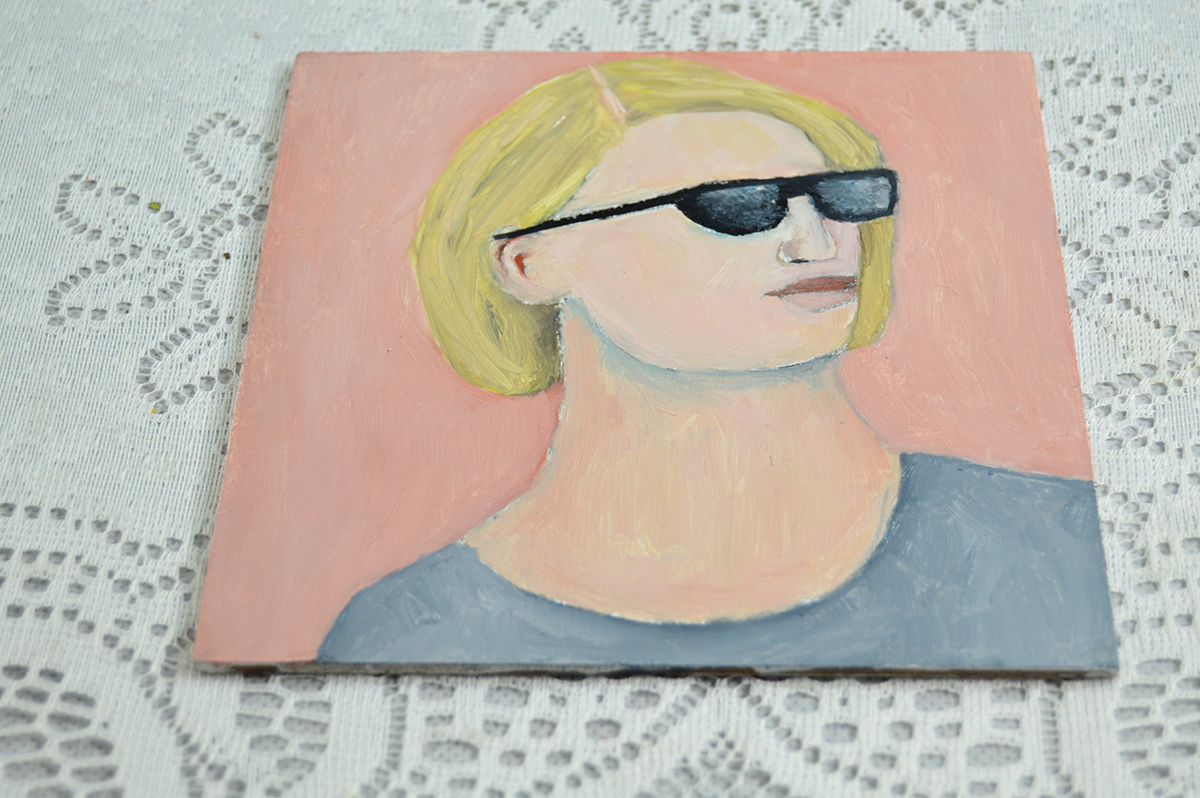
She Tucked Herself Away For Safekeeping – oil portrait painting
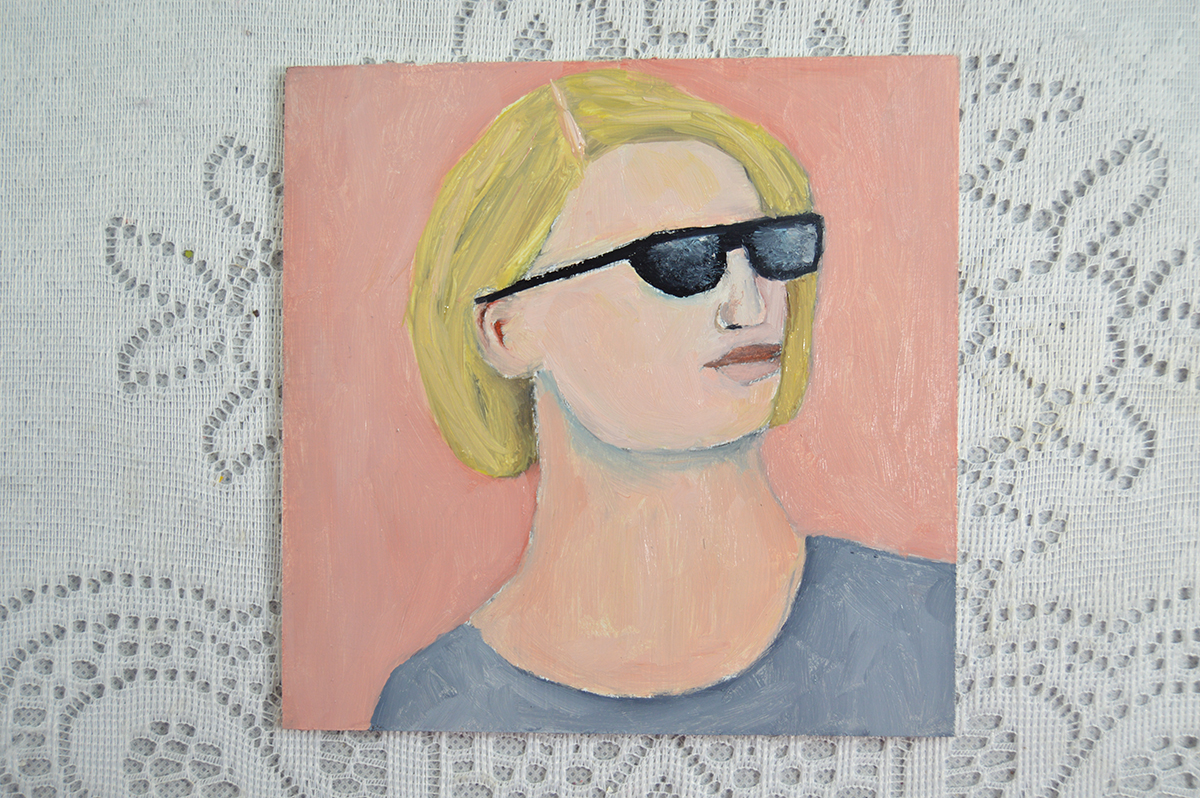
She Tucked Herself Away for Safekeeping No 2
oil portrait painting on 12×12 inch canvas
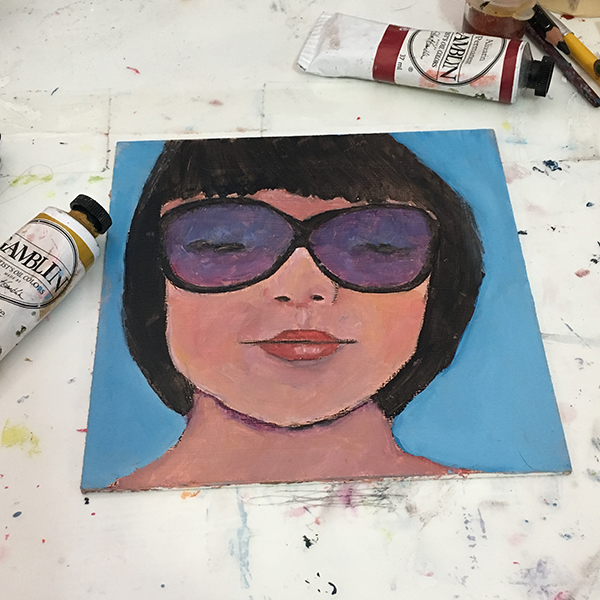
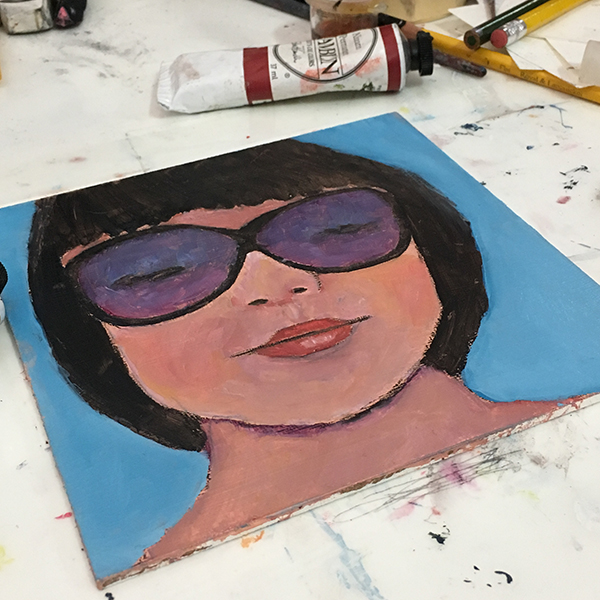
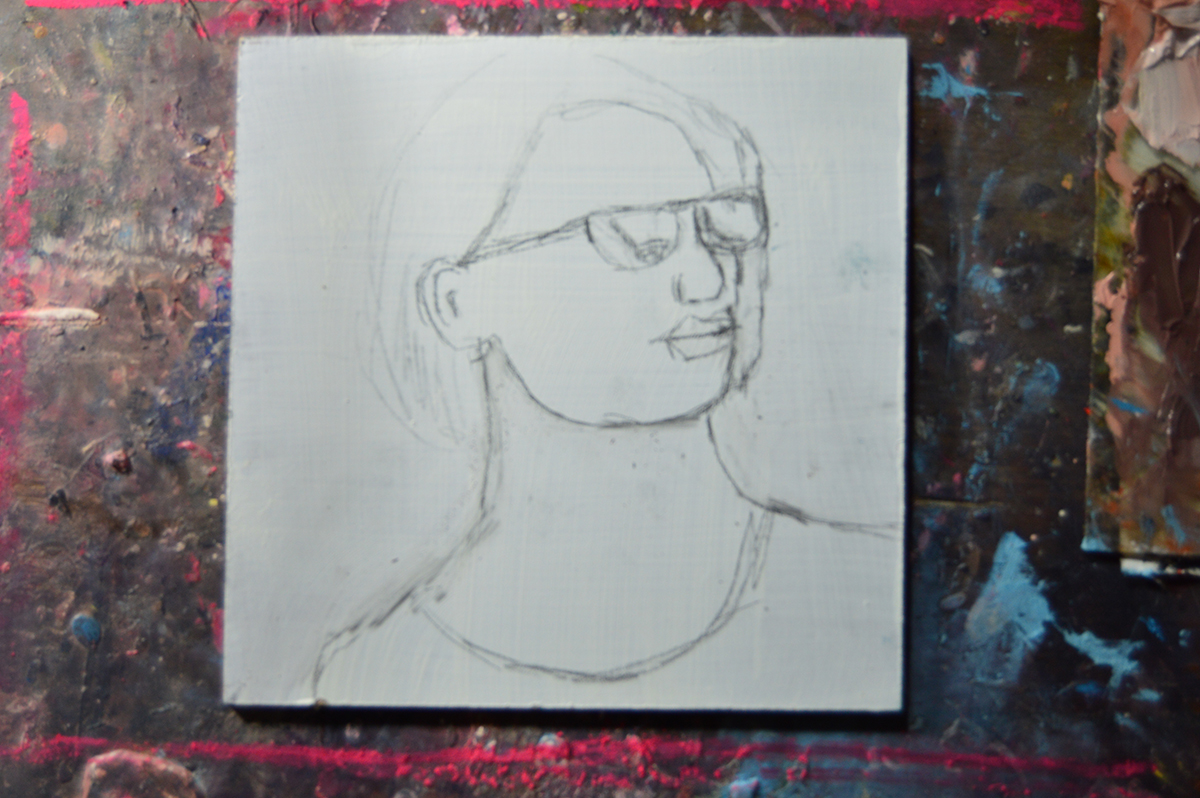
work in progress – first layer
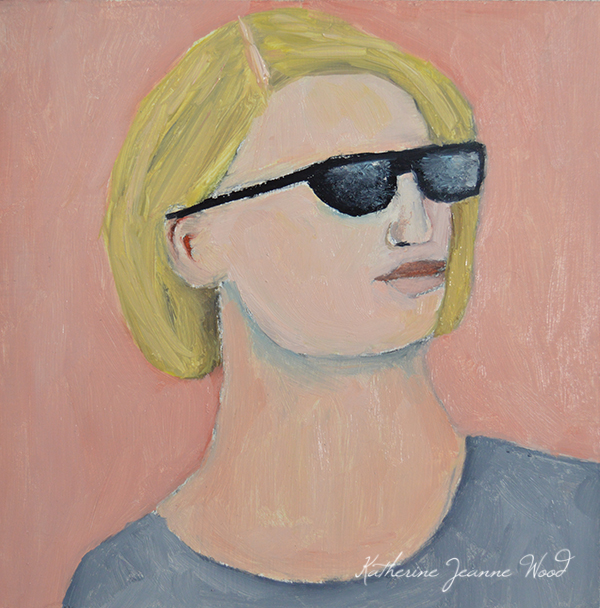
This week I decided to recreate one of my portrait paintings from 2012ish. It’s a painting which sold long ago. Seeing the photo below made me feel a little nostalgic, and I wanted her back in my life once again. I’m obviously not trying to copy it exactly (although I might some day). For this one, I’m going for the basic features, and the mood, but I’m changing it up a bit.
She Tucked Herself Away For Safekeeping No 1
sold
Prints are available in my Miz Katie shop
A good painting to me has always been like a friend. It keeps me company, comforts and inspires.
Hedy Lamarr
The first one I painted in acrylics, and for the past year or so, I’ve preferred working in oils whenever I paint a portrait. I like the slower drying time, and how easy it is to blend the oils when making skin tones. I was going to go with a darker background, but I’m loving the smokey gray, and will probably leave it as is.
I am filming the making of this portrait, so be sure to look for it soon on my YT channel. I hope to have this piece finished by next week, and will post updated photos when I’m finished. The video will come sometime in the future, whenever I get around to editing it.
Harold watching the squirrels out my studio window yesterday.
I can’t decide if he loves or hates the squirrels, but he sure does like to chatter at them.
So cute!!
In other news, we’re back to winter around here after enjoying temperatures in the 70s and 80s for the past week or two. I noticed this morning the buds on the trees are turning green, and leaves are starting to pop out. Spring is right around the corner.
Reading: 50 Ways to Use Your Unfinished Artwork
Watching: Minimalism: a documentary about important things – lots of 1 star negative reviews on this one, I noticed. The documentary didn’t offend me as much as it did others, but I get what the one star givers are saying. I didn’t love it or hate it, so I’d give it 3 stars. It’s worth watching if you like the concept of minimalism, but the guy who goes around hugging every stranger he meets does get a bit tedious. The point they were trying to drive home..people, including complete strangers, should be considered the “important things” in life, not things. Got it!
John Bryne: featured artist
Artist John Bryne
source
I can’t remember how I came across John’s work, but if you’re not familiar with him, I highly recommend kicking back, and watching the two videos below.
John Bryne: What Do Artists Do All Day Part 1
John Bryne: What Do Artists Do All Day Part 2
More links to check out:
John Byrne: in from the margins
John Byrne and Tilda Swinton: The painter and his muses
About this featured artist series: I pretty much always keep my nose to the grindstone, and rarely look up from my own work. I’m so busy in my studio, who has time for anything else? That’s what I used to think, anyway, but I want to change that a bit, and spend 2017 exploring other artists’ work. My thinking is this.. maybe by understanding what makes other artists tick, I can better understand myself, and why art is so important to me. I hate the thought of keeping these gems all to myself, so I thought I’d share them with you. Look for new posts every Thursday.
Lip injections. Quack quack
Late night in my studio, and oooh, scary blank art journal pages were staring back at me. haha Never fear! The overly sharpened watercolor pencil is here!
Aw, but look at what pencil did. Drew lips too big. Shame on you, pencil. Talk about lip injections. Quack quack! You could see those lips coming from a mile away. haha Good thing I’m a plastic surgeon, and I can fix it with a bit of paint, eh?
See..all better, right?
This is a screenshot from the video I made of the making of this art journal page. You can subscribe to my YT channel here.
Fascinating how the mind works
I woke up early this morning (5am.. after not going to bed until 2am because I had a late studio night). Instantly had a painting on my mind from yesterday’s blog post. I jumped out of bed, snagged the painting off the photography table, and took it back to my studio. Grabbed some paint, a knife, and got to work. Didn’t even make any coffee or kiss the kitties good morning. I was on what felt like a serious mission.
For some reason, I had a comment my husband made in passing 2 or 3 weeks ago on my mind, and that was, “That painting over there is much too dark, yeah?” He pointed to the painting on the table. The conversation moved on quickly. I don’t know if I even acknowledged what he said because we were in the middle of talking about other things when he said it. I don’t remember giving it another thought, but I sure did wake up with it eating away at me this morning. It’s weird, but fascinating how the mind works.
I obviously agree with him. It was too dark, so I turned the black background into a pink one, at first. I always seem to reach for pink no matter what I’m doing, as if it will magically fix everything. This time around, it didn’t seem to do the trick, so I added a layer of blue over the pink. The photo you see above is what the painting looked like just before I grabbed my spray bottle of water and sandpaper, and wet sanded it back down to the black. hm..back to where I started, and I woke up early for this??! Isn’t that genius, I thought. haha! I’m quite sure it’s going to end up with a blue background, but the pink had to go first. I’ll get it all sorted out soon. No worries.
Early this morning
Aww..my wittle cuddle buggie boo, Sweet Pea, using my hand as a pillow after a long day, and night in the studio. We started watching a new series called Abstract The Art of Design. I’d like to say I loved the show, and binge watched every episode. However, with this precious little upside down girl on my lap, and her leg thrown across mine (awww! love when she does that), I didn’t stand a chance. I was asleep within minutes. I’ll have to try watching some other time.
How I photograph my paintings for Etsy and social media
When I finish a painting, it ends up here in my office on my “photography table”. This is where it stays until I have a chance to photograph it, and list it on Etsy or elsewhere online. This is how my table looks most every day. It is a MESS. I always have finished paintings piled up, waiting for me to shoot. I used to dream of the day I’d have a clean tabletop with nothing to photograph, but that’s just not my reality. If I’m breathing, I’m painting. If I’m painting, I’m making more stacks of paintings to photograph. This table is evidence of the hard work I’m doing. That said, now that I’m caught up on some of the custom work I’ve been doing for the past two months, I’m determined to shrink these piles of paintings down to a more manageable size. ::crossing fingers::
For those who might not know, in each Etsy listing there are 5 image slots to fill. I’ve read or heard that for seo purposes, you should fill each of these slots. I have no way of knowing if that’s true or not. Some say yes, others say no. I’d rather be safe than sorry, so I fill each of the slots.
Believe it or not, until a short while ago, I used to shoot 5 different angles of each painting, even the mini 4x4s. It was an incredible amount of photo editing to do that I simply don’t have the time or patience for anymore. These days I use what I call “filler photos” for 2 of the 5 Etsy photos, and I shoot three different camera angles, instead of 5 (which still equals 2304982340983249 photos to shoot, and edit in Photoshop each week). I think three photos of a painting gives the viewer a pretty good idea of what they’re going to get when they buy a painting from me.
So, here’s how I do it..
I shoot straight down using a tripod, and a horizontal bar (this is also what I use to make my videos). I go through each painting in the stack, and shoot them all at this one, close up angle. I take 2 to 4 shots of each painting using my camera remote control, just to be sure I get the perfect image. I later use the high resolution photo for my prints, so I need to have a crisp clear image of the painting.
Tip: You’ll want to sandbag your tripod when using this bar because once you screw your camera onto the pole, it does make the tripod top heavy. Mine has toppled over at times, but luckily I was able to catch it before it smashed my camera lens into the table. Since I made a sandbag for my tripod, I haven’t had any trouble with it tipping over. Remind me to do a blog post about that sometime soon or you can just google it. It’s super easy to make a sandbag.
Tip: You definitely need a camera remote if you’re using a horizontal bar. You don’t want to touch the camera because it will bounce, and the photo will come out blurry. You’ll also want to stand very still. If your house is old like mine, the slightest little movement can cause the floor to shake. Even if one of my cats walks across the floor it can move the tripod just enough that the camera reacts like a bobble head on that bar. Boing boing. So, be sure to take a few shots of each painting, pausing a few seconds in between each one, just in case you do get bar shake.
With the camera still on the horizontal bar, I zoom the camera lens out a bit or raise the tripod to get a zoomed out shot. This gives the viewer an idea of what the painting will look like from a few feet away, almost as if it’s hanging on a wall. Again, I go through the entire stack of paintings, and shoot each one at this angle. This way, I’m not making a ton of adjustments to the camera or tripod each time I shoot a different painting. All I have to do is make sure I have the painting centered on my camera screen, and shoot.
Tip: I shoot 50 to 100 photos, and then I transfer the photos onto my computer. I do this because I’ve had trouble with SD cards corrupting photos as I’m taking them. You don’t want to shoot 1000 photos before finding out your card has been messed up the entire time. It’s happened to me before, and I lost all the photos on the card. Hours of work went down the drain. If your SD cards are as persnickety as mine, you probably should format the card every time you put it back into your camera. Don’t format it on your computer..I’ve also made that mistake when I first got a Mac, and ended up having to throw the cards away. :/
3. angled so you can see the thickness of the canvas or frame
To shoot this angle, I take the camera off the horizontal bar, and tilt the tripod head downwards toward the table, as seen in the first photo above.
I think this angle is so sooo important for the buyer to see. Here’s why..I’ve bought several paintings online that were suppose to be on “canvas”, as stated in the listing, but actually ended up being on canvas board or panel when it arrived at my home. From a buyer’s perspective, there’s a big difference between canvas and canvas board/panel. Canvas comes on stretcher bars, and doesn’t need to be framed. It can be hung on a nail or screw right out of the box. Canvas board or panel is flat, and needs to be framed. This is an added expense the buyer should know about upfront, imo. That’s why I like to shoot this angle, so people can actually see the depth of the painting.
The bird painting above already comes framed, but I figured it doesn’t hurt to show the depth of the painting/frame anyway. That way there are no surprises when the buyer opens the box. The more your buyer knows about the painting before they purchase it, the less you’ll have to deal with returns.
Once the photos have been taken, I put each painting in a plastic bag (which I buy in bulk on eBay), so they don’t stick together, and stand them up in boxes to be stored until they sell. I store them by sizes, and by type. So, all the 6×6 landscapes go in one box, all the 4×4 florals in another. Each box is labeled on the outside, which makes it easier to find a painting when it sells. I like to ship my paintings out quickly after they sell, so being able to find one fast is important to me.
I hope this post helps explain how I take photos for my Etsy listings. Btw, I also use these same photos on social media, and my blog, so I get to recycle and reuse them over and over again. If you have any questions, I’ll try to answer them when I get a chance in the comments below.
Ken Burnside – Featured Artist
I’ve been a collector of Ken’s work for a couple years now. He paints gorgeous landscapes in oils. I found him on eBay, and have been following him there ever since. When I googled his name, I was thrilled to find out PBS interviewed him (video below). Ken also has an Etsy shop, and you can follow him on FB.
About this featured artist series: I pretty much always keep my nose to the grindstone, and rarely look up from my own work. I’m so busy in my studio, who has time for anything else? That’s what I used to think, anyway, but I want to change that a bit, and spend 2017 exploring other artists’ work. My thinking is this.. maybe by understanding what makes other artists tick, I can better understand myself, and why art is so important to me. I hate the thought of keeping these gems all to myself, so I thought I’d share them with you. Look for new posts every Thursday.
- « Previous Page
- 1
- …
- 140
- 141
- 142
- 143
- 144
- …
- 216
- Next Page »