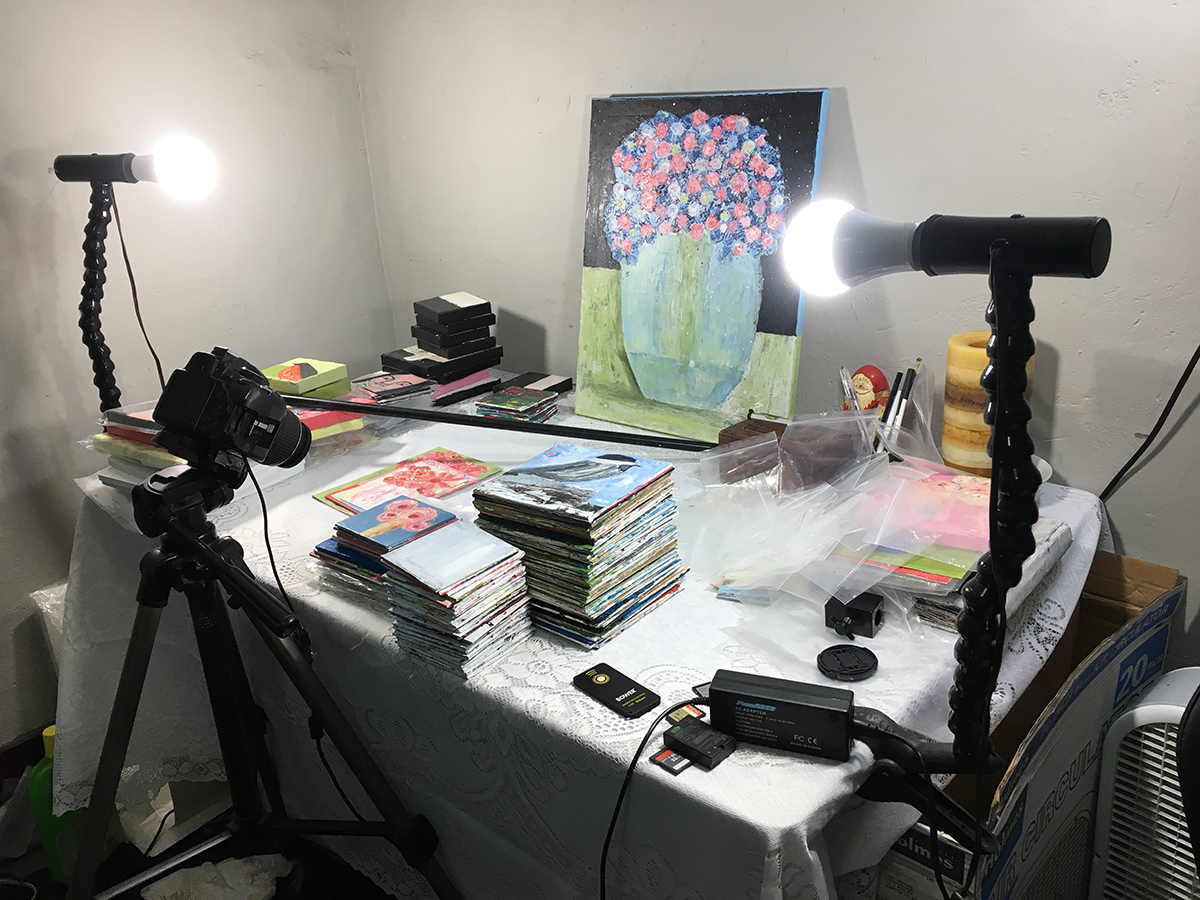
When I finish a painting, it ends up here in my office on my “photography table”. This is where it stays until I have a chance to photograph it, and list it on Etsy or elsewhere online. This is how my table looks most every day. It is a MESS. I always have finished paintings piled up, waiting for me to shoot. I used to dream of the day I’d have a clean tabletop with nothing to photograph, but that’s just not my reality. If I’m breathing, I’m painting. If I’m painting, I’m making more stacks of paintings to photograph. This table is evidence of the hard work I’m doing. That said, now that I’m caught up on some of the custom work I’ve been doing for the past two months, I’m determined to shrink these piles of paintings down to a more manageable size. ::crossing fingers::
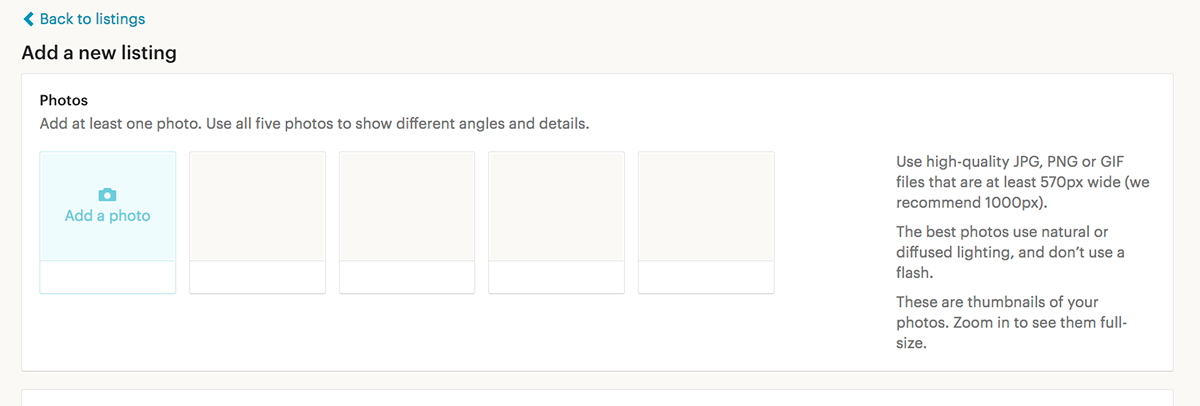
For those who might not know, in each Etsy listing there are 5 image slots to fill. I’ve read or heard that for seo purposes, you should fill each of these slots. I have no way of knowing if that’s true or not. Some say yes, others say no. I’d rather be safe than sorry, so I fill each of the slots.
Believe it or not, until a short while ago, I used to shoot 5 different angles of each painting, even the mini 4x4s. It was an incredible amount of photo editing to do that I simply don’t have the time or patience for anymore. These days I use what I call “filler photos” for 2 of the 5 Etsy photos, and I shoot three different camera angles, instead of 5 (which still equals 2304982340983249 photos to shoot, and edit in Photoshop each week). I think three photos of a painting gives the viewer a pretty good idea of what they’re going to get when they buy a painting from me.
So, here’s how I do it..
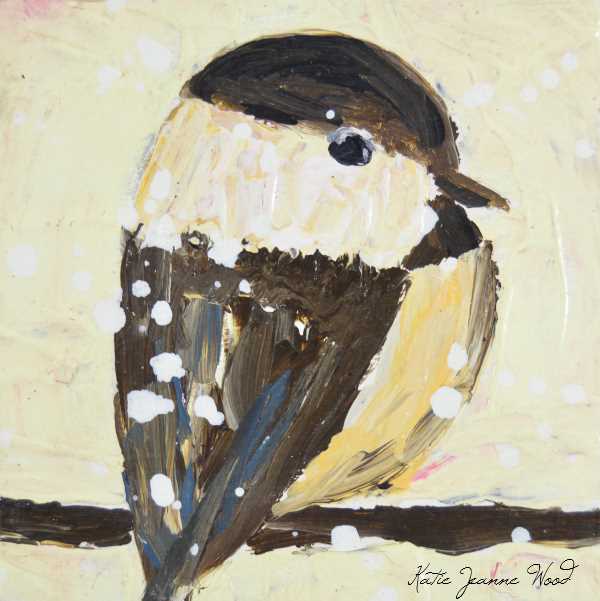
I shoot straight down using a tripod, and a horizontal bar (this is also what I use to make my videos). I go through each painting in the stack, and shoot them all at this one, close up angle. I take 2 to 4 shots of each painting using my camera remote control, just to be sure I get the perfect image. I later use the high resolution photo for my prints, so I need to have a crisp clear image of the painting.
Tip: You’ll want to sandbag your tripod when using this bar because once you screw your camera onto the pole, it does make the tripod top heavy. Mine has toppled over at times, but luckily I was able to catch it before it smashed my camera lens into the table. Since I made a sandbag for my tripod, I haven’t had any trouble with it tipping over. Remind me to do a blog post about that sometime soon or you can just google it. It’s super easy to make a sandbag.
Tip: You definitely need a camera remote if you’re using a horizontal bar. You don’t want to touch the camera because it will bounce, and the photo will come out blurry. You’ll also want to stand very still. If your house is old like mine, the slightest little movement can cause the floor to shake. Even if one of my cats walks across the floor it can move the tripod just enough that the camera reacts like a bobble head on that bar. Boing boing. So, be sure to take a few shots of each painting, pausing a few seconds in between each one, just in case you do get bar shake.
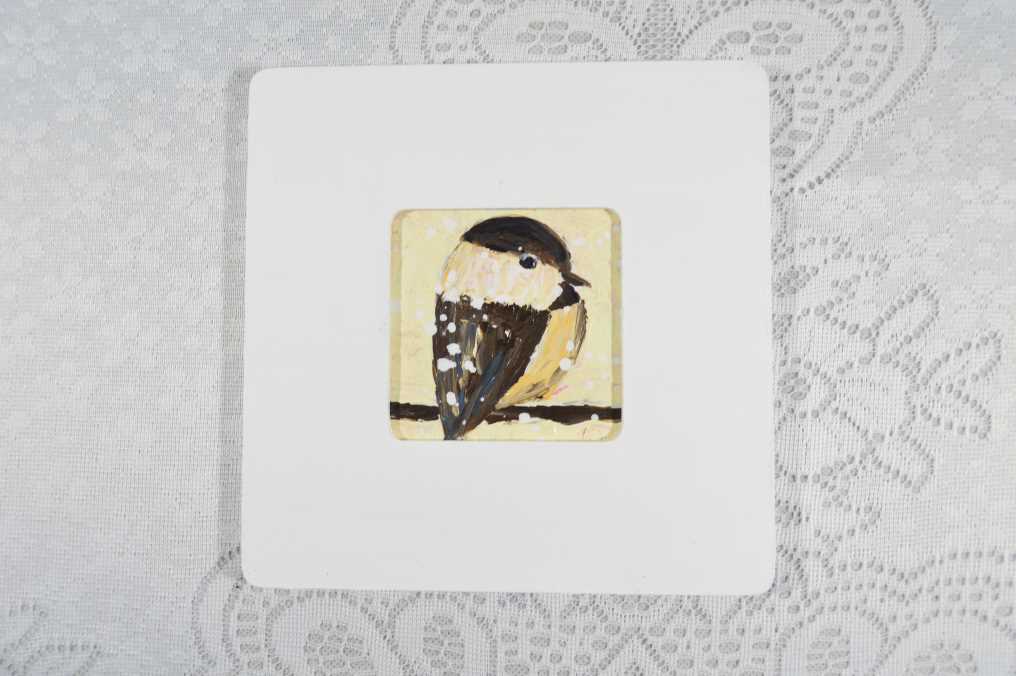
With the camera still on the horizontal bar, I zoom the camera lens out a bit or raise the tripod to get a zoomed out shot. This gives the viewer an idea of what the painting will look like from a few feet away, almost as if it’s hanging on a wall. Again, I go through the entire stack of paintings, and shoot each one at this angle. This way, I’m not making a ton of adjustments to the camera or tripod each time I shoot a different painting. All I have to do is make sure I have the painting centered on my camera screen, and shoot.
Tip: I shoot 50 to 100 photos, and then I transfer the photos onto my computer. I do this because I’ve had trouble with SD cards corrupting photos as I’m taking them. You don’t want to shoot 1000 photos before finding out your card has been messed up the entire time. It’s happened to me before, and I lost all the photos on the card. Hours of work went down the drain. If your SD cards are as persnickety as mine, you probably should format the card every time you put it back into your camera. Don’t format it on your computer..I’ve also made that mistake when I first got a Mac, and ended up having to throw the cards away. :/
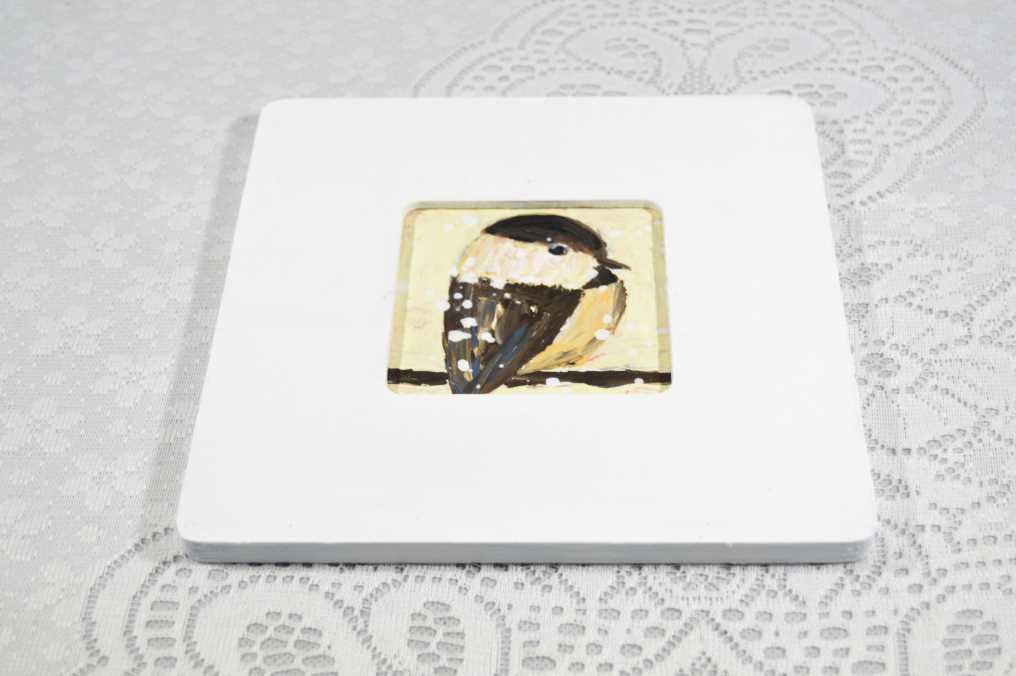 3. angled so you can see the thickness of the canvas or frame
To shoot this angle, I take the camera off the horizontal bar, and tilt the tripod head downwards toward the table, as seen in the first photo above.
I think this angle is so sooo important for the buyer to see. Here’s why..I’ve bought several paintings online that were suppose to be on “canvas”, as stated in the listing, but actually ended up being on canvas board or panel when it arrived at my home. From a buyer’s perspective, there’s a big difference between canvas and canvas board/panel. Canvas comes on stretcher bars, and doesn’t need to be framed. It can be hung on a nail or screw right out of the box. Canvas board or panel is flat, and needs to be framed. This is an added expense the buyer should know about upfront, imo. That’s why I like to shoot this angle, so people can actually see the depth of the painting.
The bird painting above already comes framed, but I figured it doesn’t hurt to show the depth of the painting/frame anyway. That way there are no surprises when the buyer opens the box. The more your buyer knows about the painting before they purchase it, the less you’ll have to deal with returns.
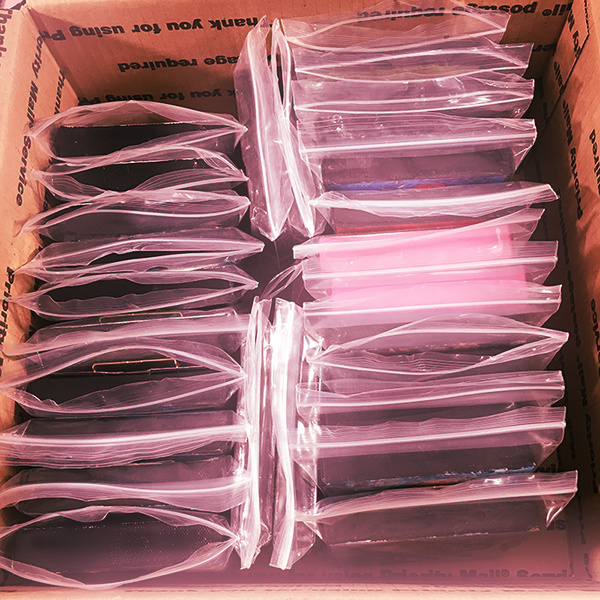
Once the photos have been taken, I put each painting in a plastic bag (which I buy in bulk on eBay), so they don’t stick together, and stand them up in boxes to be stored until they sell. I store them by sizes, and by type. So, all the 6×6 landscapes go in one box, all the 4×4 florals in another. Each box is labeled on the outside, which makes it easier to find a painting when it sells. I like to ship my paintings out quickly after they sell, so being able to find one fast is important to me.
I hope this post helps explain how I take photos for my Etsy listings. Btw, I also use these same photos on social media, and my blog, so I get to recycle and reuse them over and over again. If you have any questions, I’ll try to answer them when I get a chance in the comments below.
